Last updated November 21, 2026
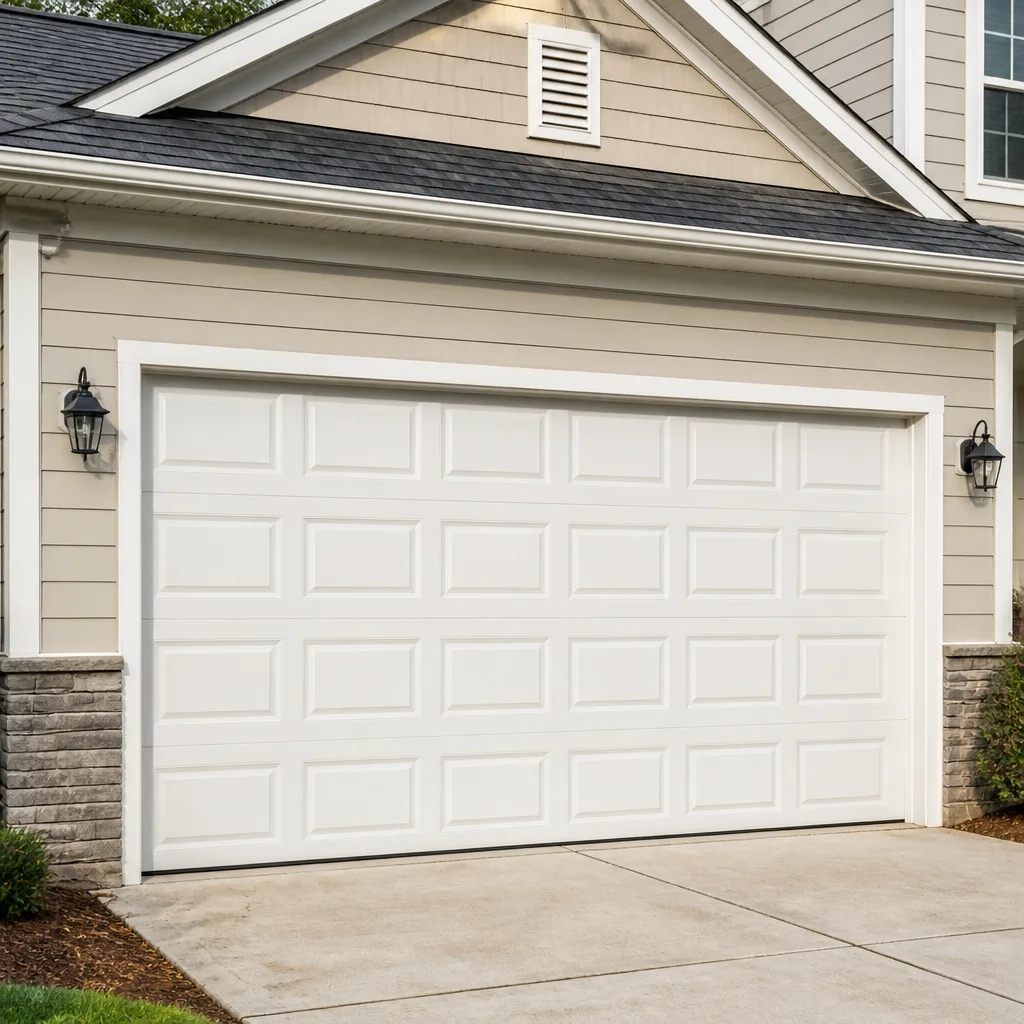 Raised-panel steel
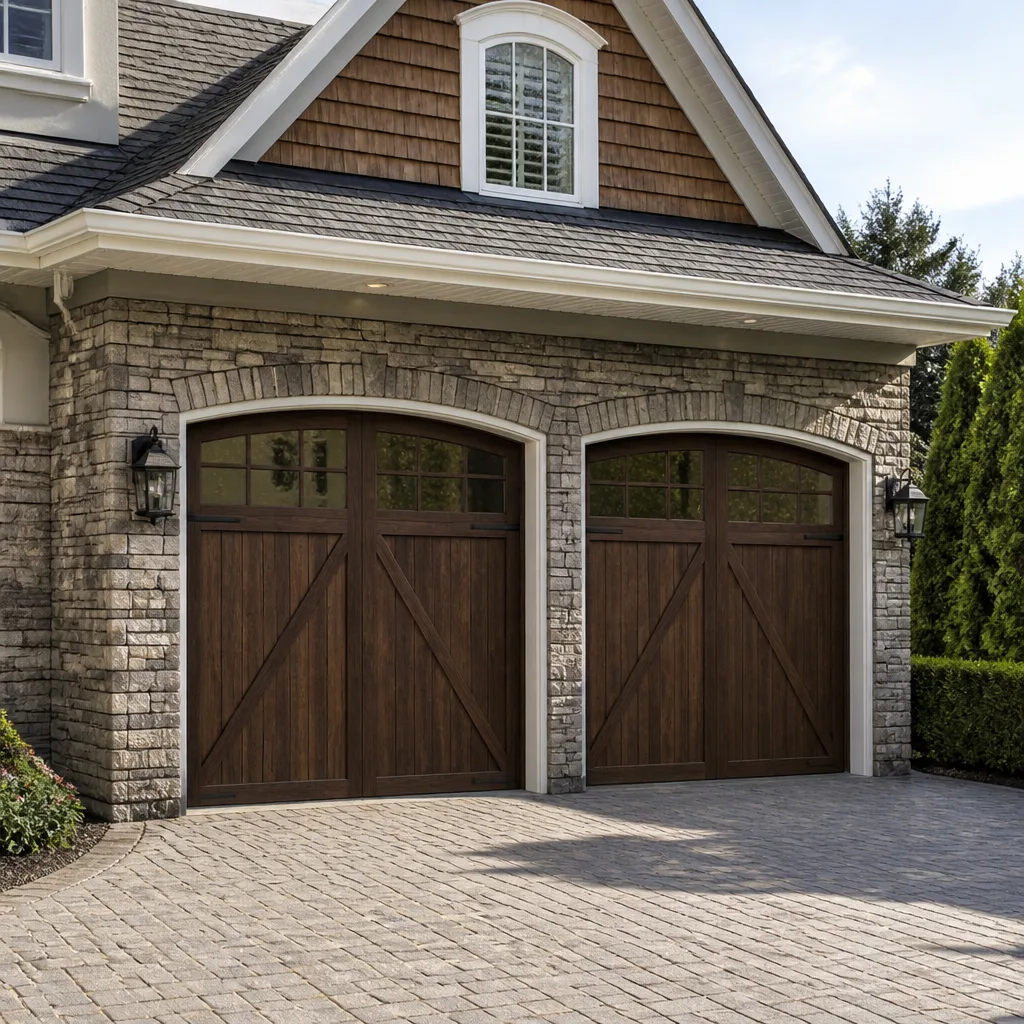 Carriage house
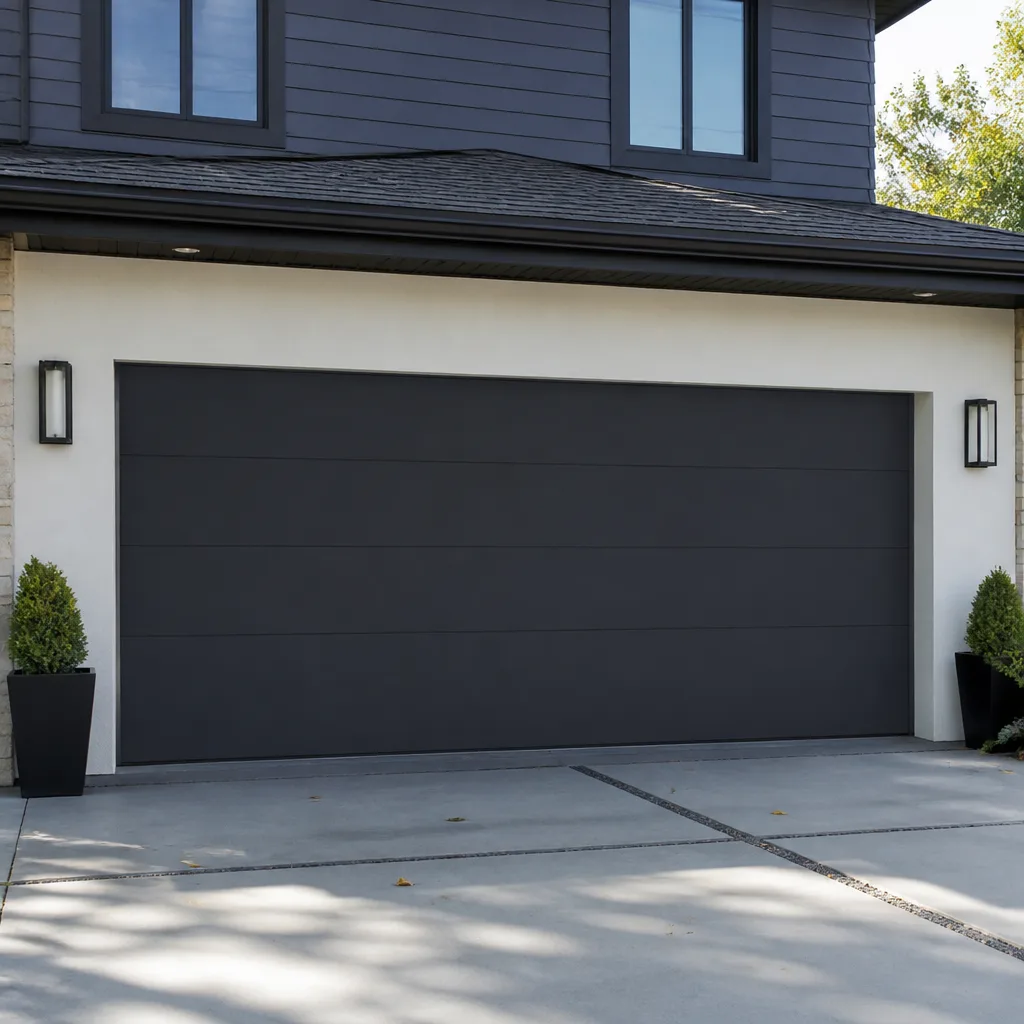 Modern flush
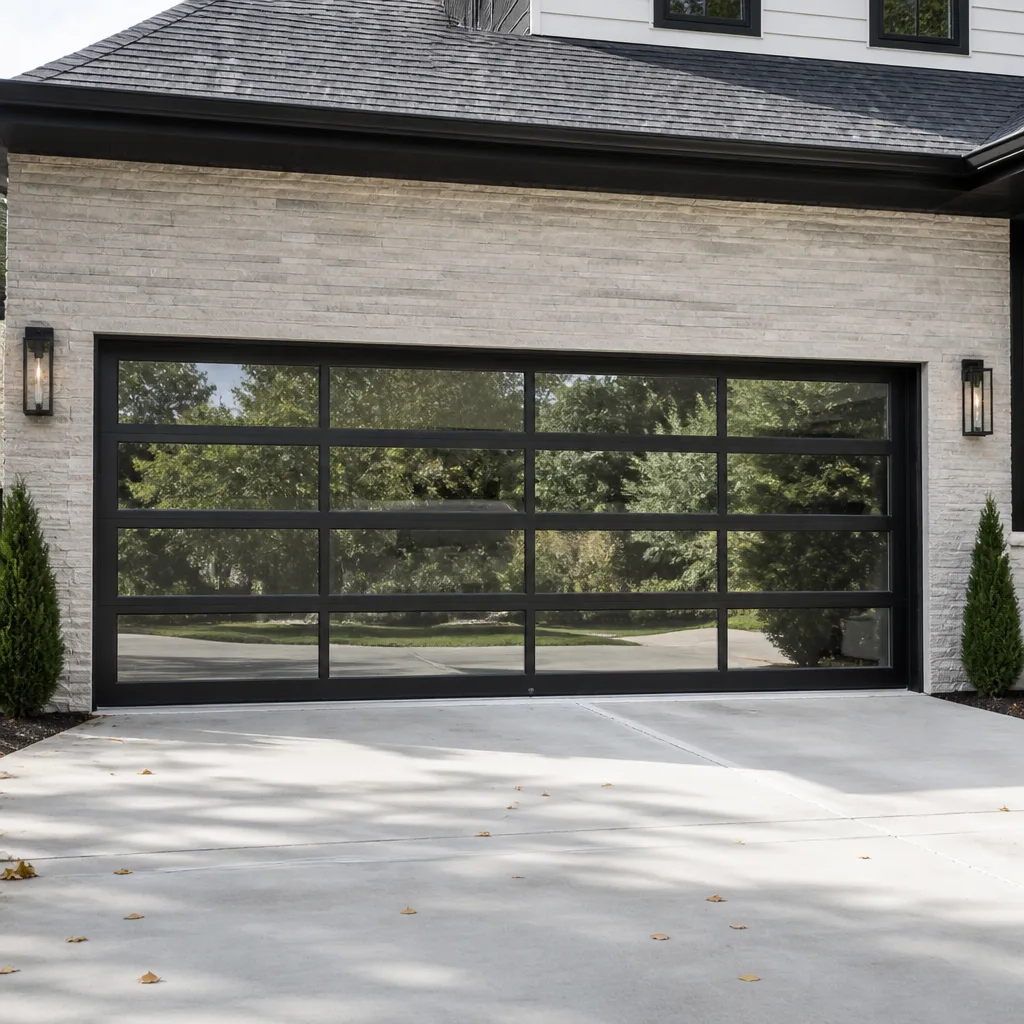 Full-view glass
 LiftMaster openers
 Chamberlain openers
Full 25-point door and opener safety check with every visit - springs, cables, rollers, tracks, and your LiftMaster or Chamberlain opener included
You get a price before we start. It does not change when the pro arrives.
Get your free estimateGarage Door Repair Maintenance Checklist for Kent Homeowners
The part of a garage door that fails most often and costs the most to fix is also the part nobody thinks about until it breaks: the springs and the metal they ride on. A snapped torsion spring runs roughly $150 to $300 to replace on its own, and a matched pair usually replaces both springs together. A tube of the right lubricant costs less than a takeout lunch. The distance between those two numbers is a skipped maintenance step, usually a small one done months earlier. In this guide we’ll lay out a maintenance schedule that actually sticks. It’s built around three time frames, tells you what you can safely handle yourself and what needs a trained technician, and explains the mechanical reason behind each task so you understand what you’re protecting. The schedule is written for Kent homes, where wet winters put extra stress on metal parts that most generic checklists ignore.
Quick Answer
A garage door maintenance checklist for Kent homeowners should cover three cycles: monthly (balance test, visual inspection, lubrication of hinges and rollers), quarterly (weather seal inspection, hardware tightening, opener force and safety-reverse check), and annual (spring inspection, cable and drum review, track alignment, and a full opener service). Roughly 70% of the tasks are safe for a homeowner to do. Spring, cable, and high-tension hardware work belongs with a trained technician.
Styles & brands we work with
- Raised-panel steel
- Carriage house
- Modern flush
- Full-view glass
- LiftMaster openers
- Chamberlain openers
Table of Contents
- Why a Timed Schedule Beats a Flat Checklist
- The Monthly Tasks (15 Minutes)
- The Quarterly Tasks (45 Minutes)
- The Annual Tasks
- Lubrication in Kent’s Wet Climate: What Works and What Doesn’t
- How to Do the Balance Test and Read the Result
- Imminent Failure vs. Cosmetic Wear: What to Watch For
- Maintenance Steps That Void Opener Warranties If Done Wrong
Why a Timed Schedule Beats a Flat Checklist
Most homeowners who search for a garage door maintenance checklist in Kent end up with a flat list of ten items, run through it once, and forget it. The problem isn’t the tasks; it’s the cadence. A balance test is useful every month because a failing door will drift out of balance gradually. A weather-seal inspection needs doing quarterly because seals take a season to wear out. Spring inspection makes sense once a year because springs rarely fail without warning. Grouping tasks by how often they’re needed means you remember them and you don’t waste effort checking things that haven’t moved since last time.
There’s a second reason a timed schedule works better. Each task on this list connects to a specific mechanical failure mode. Lubricating hinges isn’t about making the door quieter; it’s about reducing friction on the moving metal so the spring doesn’t have to work as hard to lift and lower the door. A spring that fights extra friction fatigues faster, and torsion springs are one of the few components that fail suddenly and dangerously. Same logic applies to track cleanliness: a track caked with grit forces the rollers to grind, which stresses the hinges and eventually the opener’s drive gear. Every task is protecting something downstream.
Kent’s wet climate makes the cadence a little tighter than in drier parts of the country. Metal parts stay damp for longer stretches, and hinges, rollers, and tracks are more exposed to moisture than in a place that dries out fast. We’ve seen doors in Kent where the hinge pins are visibly pitted within a couple of seasons because they got no lubrication at all. The schedule below builds in enough frequency to counter that. If you want a full-service baseline once a year alongside your own monthly and quarterly checks, our garage door repair service includes a full inspection that covers every item on this list.
The Monthly Tasks (15 Minutes)
The monthly routine takes about 15 minutes and doesn’t require tools beyond a rag and a lubricant. Do these three things and you’ll catch most of the early warning signs that lead to expensive breakdowns.
- Run the balance test. Disconnect the opener (usually a red pull handle or a release cord), lift the door halfway by hand, and let go. A healthy door stays put. If it drifts up or down, the spring tension is off or a spring is on its way out. (We give the full balance test procedure in a section below.)
- Lubricate hinges, rollers, and the torsion tube bearings. One or two drops per hinge pivot, per roller stem, and on the bearing plates at each end of the torsion tube. Don’t spray the track itself; the track should stay dry so the rollers roll rather than slide.
- Walk the perimeter with the door closed. Look for daylight under the bottom seal, gaps at the sides, and any loose weatherstripping. In Kent, a small gap lets in enough rain-driven moisture to rust tracks and swell the wood frame around the door over a season.
It helps to keep a small notepad or a phone note of what you see each month. “Slight gap on the left side” is easy to forget; “left side had a gap in October and it’s wider now” tells you the seal needs replacing before cold weather. This one habit catches problems while they’re still small.
If your door has a Raynor or Wayne Dalton opener, confirm the release mechanism is the one specified in your owner’s manual before you use it for the balance test. Some units use a different style of emergency release than the standard red pull cord. Our team works with both brands regularly and can walk you through it over the phone if you’re not sure.
The Quarterly Tasks (45 Minutes)
Quarterly jobs take longer because they cover parts you can’t see as easily from the floor. Set aside about 45 minutes and use a step ladder for anything above your head. This is also the right time of year to notice anything mechanical that’s changed since your last check.
- Inspect the weather seal at the bottom. Run your hand along the rubber flap. A brittle or cracked seal lets in more than water; it also lets out the heat you’re paying for. Seals in Kent tend to break down faster than in dry climates because they get wet and dry repeatedly through the rainy season.
- Tighten every nut and bolt on the hinges and the roller brackets. Use a hand wrench, not a power driver. Overtightening strips the threads on most residential hardware.
- Test the opener’s safety-reverse and force settings. Place a 2×4 flat on the ground under the door and close it. The door should reverse on contact. Test the photo-eye safety sensors by waving an object in front of the beam; the door should not close. If either test fails, stop using the door and call a technician.
- Look at the cables and drums. You’re not adjusting anything here; you’re looking for visible fraying, slack in the cables, or a drum that looks loose. Cables should be taut and even on both sides.
The force test matters more than most homeowners realize. If the opener’s force setting is too high, the door will keep closing on an obstruction instead of reversing. That’s the safety issue; it’s also a signal the opener is straining. LiftMaster and Chamberlain units usually show a light code when a force limit trips. Our garage door opener repair team can translate those codes for you if the light pattern doesn’t match the manual.
For Craftsman openers, the force adjustment is on the back of the motor housing, not under a cover like some other brands. Before you touch anything, check your manual for safety. A force setting adjusted the wrong way can make the door hit something with full closing force. When in doubt, call us and we’ll talk you through the test itself rather than the adjustment.
The Annual Tasks
Annual tasks are the ones a technician should handle, though you can inspect most of them yourself to know when to call. Plan this for late fall, before Kent’s wettest months, so any worn parts get replaced before the season when moisture exposure is highest. Expect this to be an appointment, not a quick chore.
- Full spring inspection. Torsion springs and extension springs both have a limited cycle life. A spring that’s near the end will show visible signs: a gap in the coil, stretched sections, or rust pitting on the wire. A trained technician can assess remaining life without playing the guessing game.
- Cable and drum service. Cables should be inspected for wear at the drum and at the bottom bracket. This is not a homeowner task; both springs and cables are under extreme tension and can cause serious injury if handled incorrectly.
- Track alignment check. Run a straight edge along each vertical and horizontal track. Any bend means the door will drag; over time that drag wears the rollers and stresses the spring. Small bends can be corrected; large ones usually mean replacing that section of track.
- Opener service: chain or belt tension check, gear and sprocket inspection, and a full safety-system test.
- Panel and structural review. Check for cracked panels, bent stiles, and separation at the panel seams. Cosmetic dents are fine; structural cracks matter because they let water into the door’s interior, where steel can rust from the inside out.
If your door is due for a full service or you’ve been ignoring the annual part of the schedule for a few seasons, this is what an Kent Garage Door Repair Pros inspection covers. We check each of the five items above and tell you plainly which ones are fine, which ones need attention soon, and which ones need to be handled before the door is used again. Same-day service is often available for anything that’s already broken.
Every job we take on starts with a written price that we agree with you before any work begins. The price you see on the estimate is the price on the invoice. If a technician discovers something extra mid-job, we stop and talk to you before continuing. No surprise numbers at the end. Our technicians have up to 10 years of experience, and they’ll show you what they found if you want to see it.
Lubrication in Kent’s Wet Climate: What Works and What Doesn’t
Standard garage door maintenance guides usually say “lubricate moving parts” and stop there. That’s not enough for a Kent door. Metal in this climate is exposed to more moisture for more of the year than in a lot of the country, and the wrong lubricant will actually make things worse. What works here is a silicon-based spray or a white lithium grease on the hinge pivots, roller stems, and the torsion tube bearings. What doesn’t work, and what to avoid:
- Standard WD-40 as a long-term lubricant. It’s a water displacer, not a durable lubricant. It’ll quiet a squeak for a week or two and then evaporate or wash off. Use it to displace moisture after a wet stretch if you like, then apply a real lubricant over it.
- Cooking spray or household oil. Neither is formulated for metal-on-metal service in a wet environment. They attract dust and can gum up in cold weather.
- Graphite powder. Fine for some lock mechanisms, but it doesn’t hold up against moisture and it migrates. Not what you want on hinge pivots.
- Anything on the track itself. This is a common mistake. The track should stay dry and clean. Lubricating the track makes the rollers slide instead of roll, which is exactly the opposite of what you want.
Reapply lubricant monthly during Kent’s wet season and every other month during the drier stretch. A white lithium grease stays put longer than a spray-on silicone, which is useful for the hinge pivots that see the most movement. Silicone spray is easier to apply evenly to roller stems. Either is acceptable; the key is regular reapplication, not the specific product.
If your door uses Wayne Dalton hardware with their proprietary rollers, check your owner’s manual before applying anything. Most accept standard lubricant, but a few models with sealed bearings don’t need it and don’t benefit.
How to Do the Balance Test and Read the Result
The balance test is the single most useful diagnostic a homeowner can run. It takes two minutes and it tells you whether your spring tension is still doing its job. Run it monthly, after any loud noise from the door, and before you schedule the annual service.
- Close the door completely.
- Pull the emergency release handle to disconnect the door from the opener. The door should now move freely by hand.
- Lift the door to about waist height and let go.
- Watch what happens. A properly balanced door should stay put or move only slightly. If it drifts to the floor, the springs have lost tension. If it drifts toward the ceiling, the springs are too tight.
- Reconnect the opener by pulling the release cord back into position. Test the door with the opener to confirm normal operation.
Interpretation matters more than the test itself. A slight drift of a few inches over a 10-second hold is normal; the door will settle. A door that falls fast or won’t stay up at all has a problem. If it falls, stop using the opener until a technician looks at it. A door with weak springs forces the opener to lift more weight than it was designed for, and that’s what burns out opener gears. It’s also a sign that a spring is approaching failure, and torsion springs fail without warning.
One safety note that a lot of online guides skip. Never attempt to adjust spring tension yourself. Torsion springs are under enough tension to cause severe injury, and the tools used to wind them require training and a specific method. The balance test is safe to run; adjusting the springs is not. If the test tells you something is wrong, the right next step is a call, not a YouTube video.
Imminent Failure vs. Cosmetic Wear: What to Watch For
Not every mark on your door means the door is about to break. Knowing the difference saves you money and sleepless nights. In our experience the two categories are easy to distinguish once you know what to look for.
Cosmetic wear (safe to monitor, no action needed):
- Surface rust spots on painted steel panels. Treat them with touch-up paint and move on.
- Scratches and dents from a hedge trimmer or a bicycle handlebar. Cosmetic unless the dent has cracked the panel seam.
- Faded paint or a sun-bleached color. No mechanical impact.
- Slight door rattle on the opener. Usually just a loosened bolt; tighten and check again in a month.
Signs of imminent failure (stop using the door and call):
- A torsion spring with a visible gap in the coil, or a stretched extension spring that looks longer than it did a season ago.
- Any sign of fraying, kinking, or slack in the lift cables.
- A door that hangs crooked, or lifts only on one side.
- An opener that reverses on its own, or that has trouble lifting the door that it used to lift easily.
- Loud popping or banging when the door moves. That sound is usually a sign that a cable or spring is bearing load it shouldn’t.
- Hinges that are visibly bent or separated from the door panel.
If you see any of the second list, don’t keep operating the door. A door that’s about to fail can drop suddenly, and that’s a real safety hazard, especially with kids or pets around. Call a technician and either hold the door in the closed position or brace it. Our garage door repair service is available for emergency calls if the door has already failed.
Maintenance Steps That Void Opener Warranties If Done Wrong
Every opener manufacturer specifies which parts the homeowner can service and which parts the installer needs to handle. Getting these wrong can void the warranty on a component that’s still under coverage. The three brands we see most in Kent homes are LiftMaster, Chamberlain, and Craftsman, and each has its own set of do’s and don’ts.
What voids a warranty most often is unauthorized adjustment of the travel limits or force settings after the installation. If your opener is under warranty and the door isn’t behaving, call the manufacturer’s support or a certified technician before you touch the adjustments. Adjustments made to compensate for a problem the manufacturer’s settings didn’t cause will often void your coverage. The safe maintenance tasks are lubrication, tightening of accessible bolts, and cleaning the photo-eye lenses.
What you should also not do: use a lubricant the manufacturer has specified against. Most brands accept silicone or white lithium grease; some specifically recommend against certain sprays because they attract dust or degrade the plastic gears inside the unit. Check your manual before applying anything you haven’t used on that opener. Chamberlain, in particular, has specific guidance in the owner’s manual about the drive system.
If you’re not sure whether the warranty is still active or whether a specific task is covered, the cleanest answer is to have a certified technician handle it and log the service. Every brand we work with has an approved service procedure, and we follow it. That’s true whether we’re doing a small tune-up on a Craftsman opener or an garage door installation for a new LiftMaster system.
Common Mistakes to Avoid
- Lubricating the track. Common, and it makes the door harder to operate, not easier. The track should stay dry and clean.
- Overtightening hinge bolts with a power driver. Strips the thread, loosens the hinge, and creates an alignment problem. Use a hand wrench and snug, not torque.
- Skipping the balance test because the door “seems fine.” A failing spring usually doesn’t make noise until it snaps. The test is two minutes and it tells you the truth.
- Using the door after noticing a visible spring gap. A spring with a gap has already failed. Opening the door on a broken spring forces the opener to lift the door against its full weight, which can damage the opener or drop the door.
- Spraying household oil on rollers and hinges. It attracts dust, gums up in cold weather, and gives a false sense of “I lubricated it.” Use silicone or white lithium grease.
- Adjusting force settings on a door that has a mechanical issue. A door isn’t supposed to slip past its safety reverse; increasing force to get the door past a track obstruction is exactly the wrong move and can void the opener’s warranty.
- Ignoring a small gap under the bottom seal in Kent’s wet season. Rain-driven moisture gets in, rusts the bottom panel and the anchor plates, and the problem grows quietly for months.
See the difference
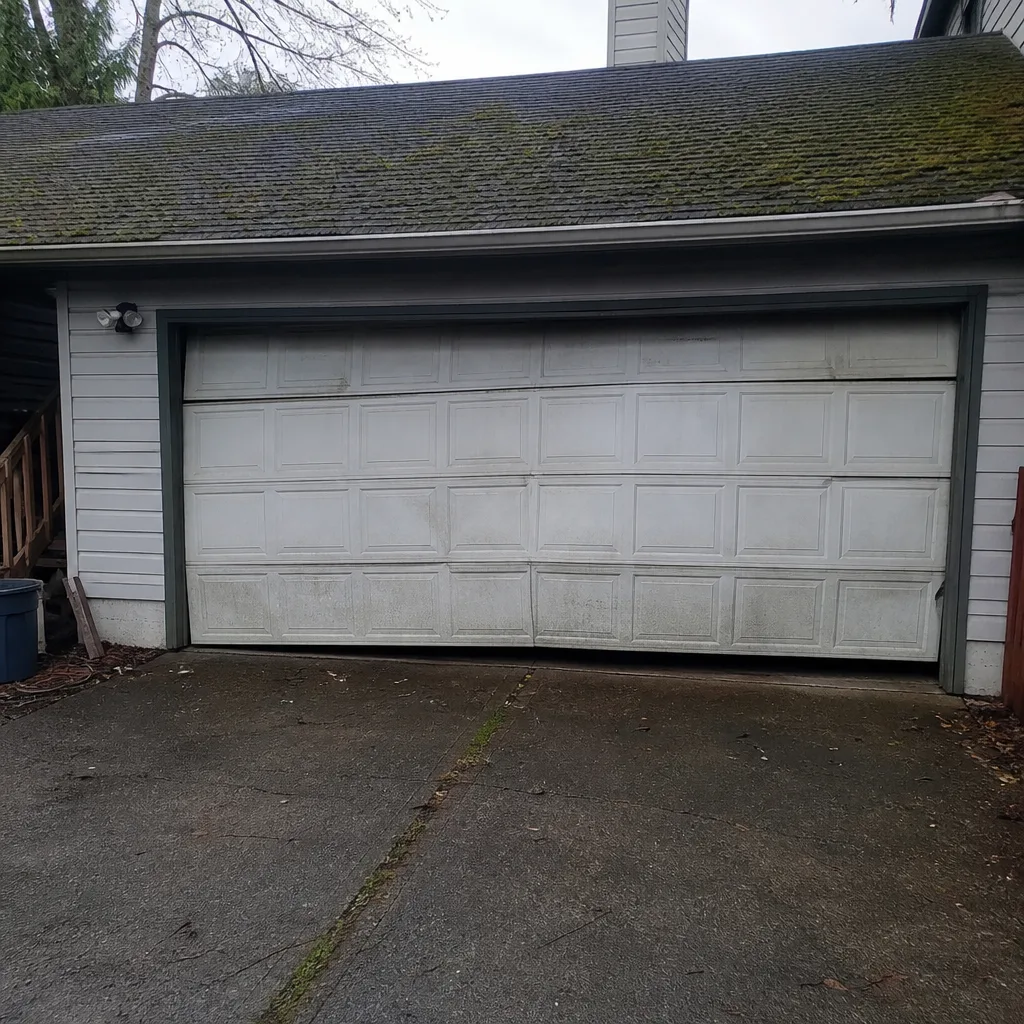 Before
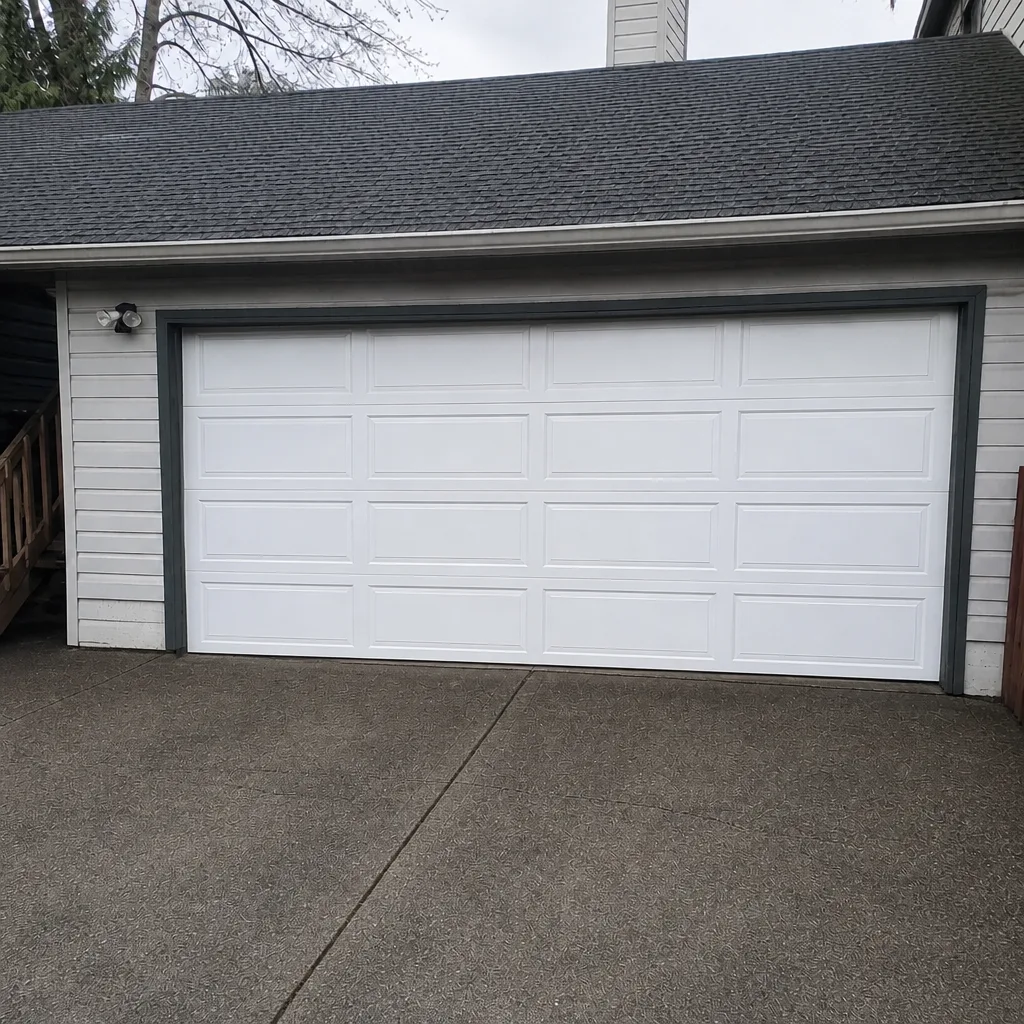 After
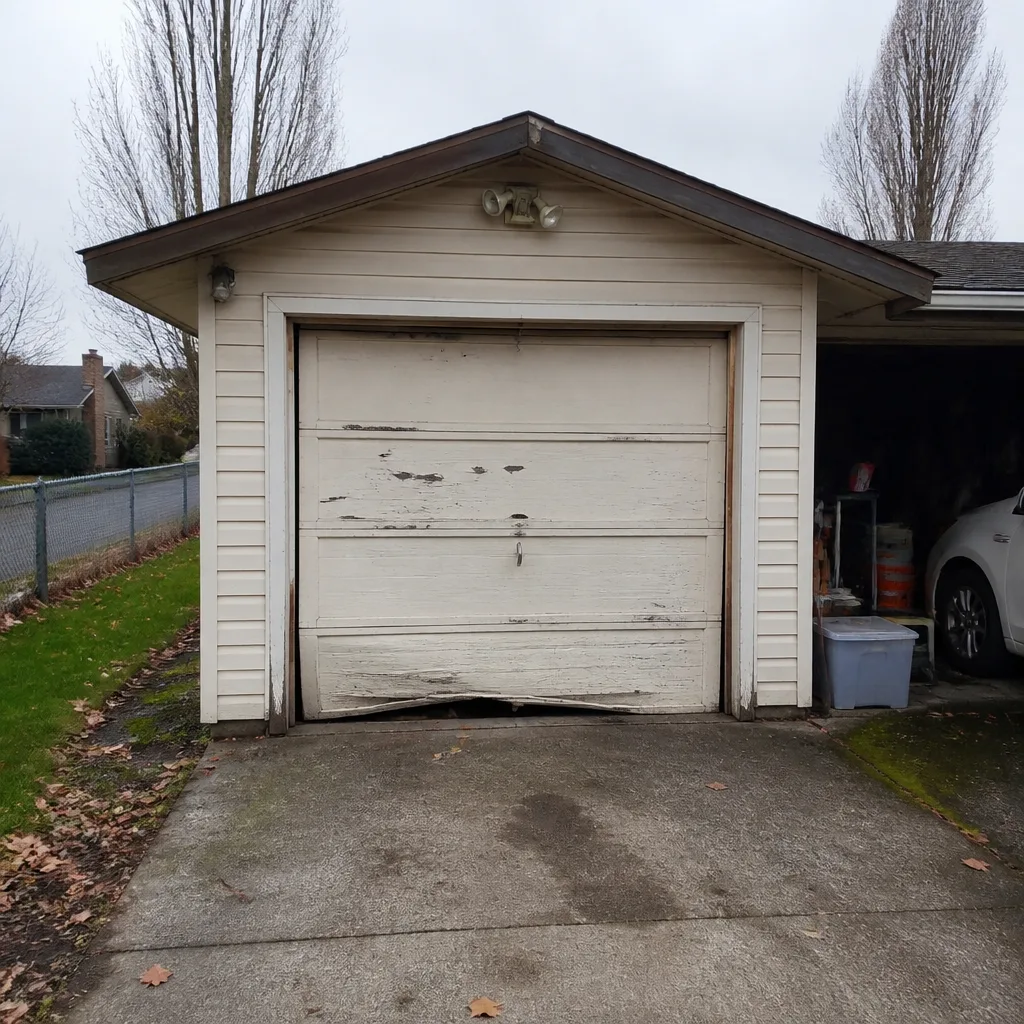 Before
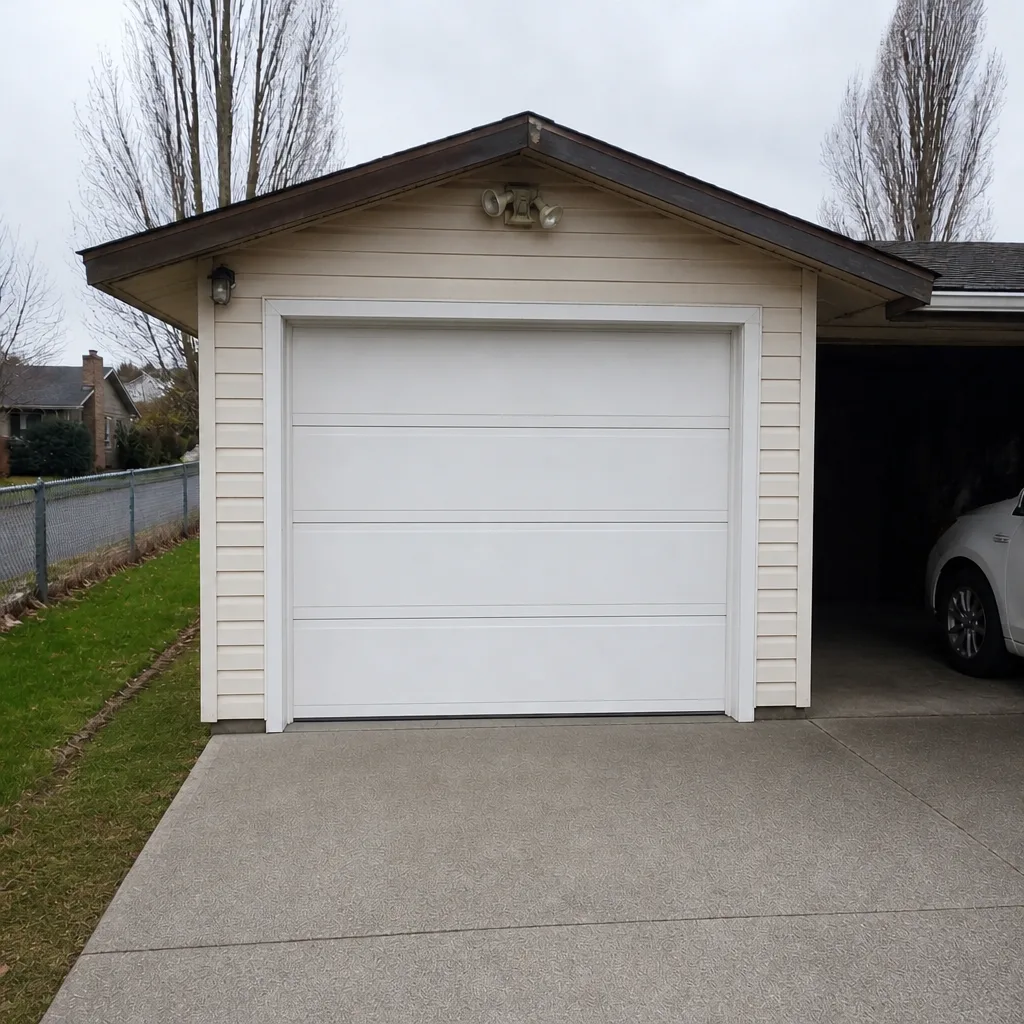 After
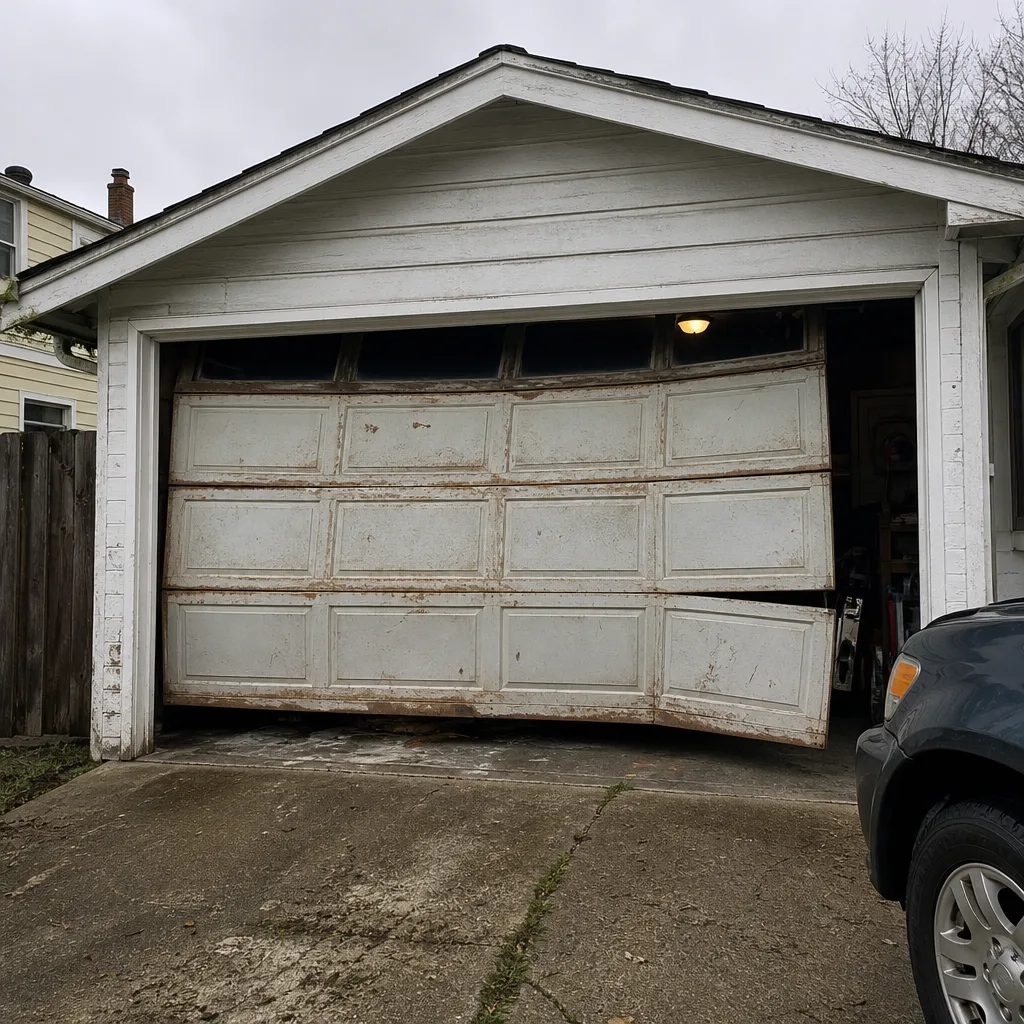 Before
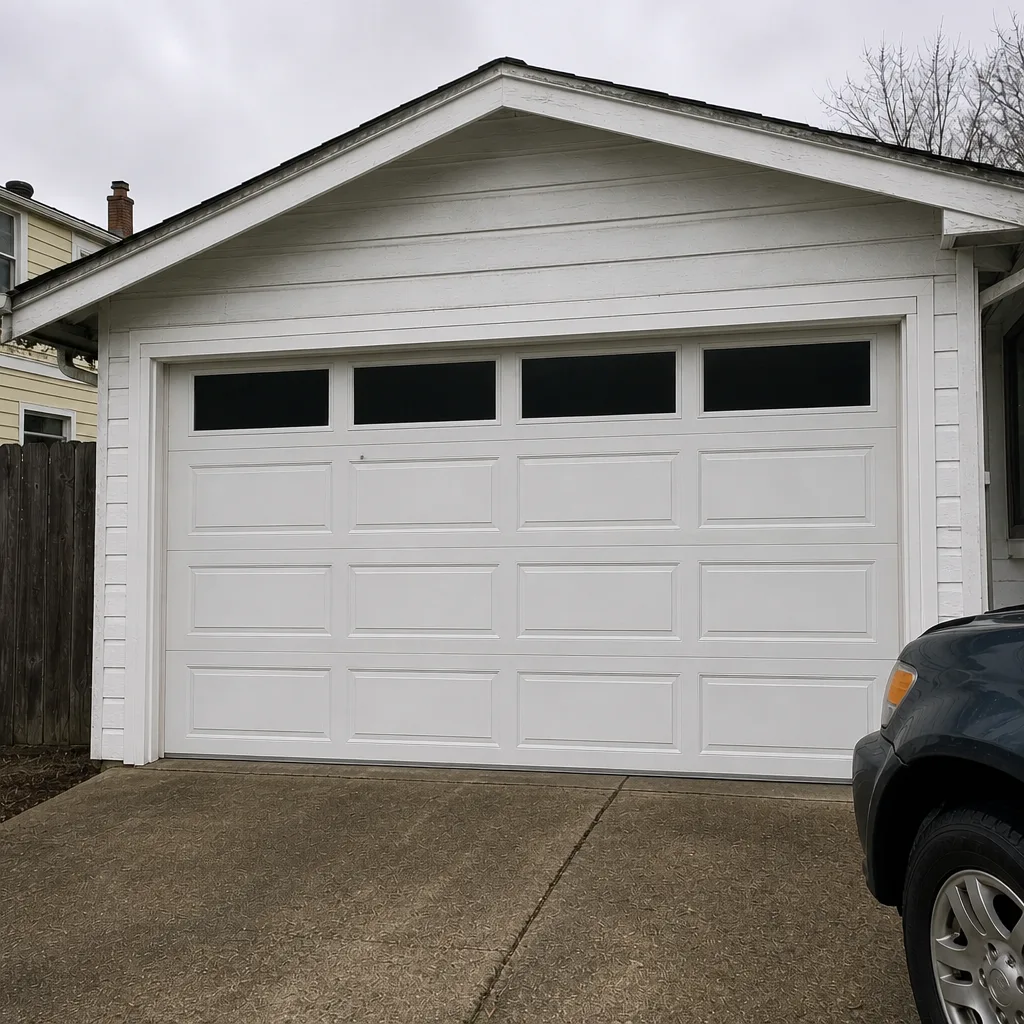 After
When to Call a Professional
Even with a solid DIY schedule, some jobs need a trained technician. Call us when you see any of these: a snapped or visibly sagging torsion or extension spring, a frayed or slack lifting cable, a door that hangs crooked or lifts unevenly, an opener that reverses on its own or won’t respond, damage to the door’s structural panels, or anything that looks like the door might drop. If a car has hit the door, if the door has been off its tracks for even a short time, or if the opener has been installed or replaced without a certified service check, that’s also a call.
Kent Garage Door Repair Pros offers free estimates in Kent – call (877) 606-8952. Our technicians have up to 10 years of experience and we work on LiftMaster, Chamberlain, Genie, Clopay, Amarr, Wayne Dalton, Craftsman, and Raynor systems. Same-day and emergency service is available for anything that’s already failed.
Frequently Asked Questions
Monthly for the balance test, lubrication, and a quick perimeter check. Quarterly for the weather seal, hardware tightening, and opener safety tests. Annually for the full spring, cable, drum, track, and opener inspection. Kent’s wet climate makes regular lubrication especially important because metal parts stay damp longer here than in drier regions.
You can and should lubricate hinges, roller stems, and torsion tube bearings yourself using a silicone spray or white lithium grease. What you shouldn’t touch is the torsion spring itself or any tension adjustment. Call a technician if you’re seeing symptoms that might be spring-related, because the parts involved are under extreme tension. Call (877) 606-8952 for a free estimate if you want a professional tune-up.
Typical range is $150 to $300 per spring, and a matched pair is usually replaced together so the pair costs roughly twice a single spring. The written estimate always sets the final price, and we agree it with you before any work begins. Call (877) 606-8952 to schedule an estimate.
Look for a visible gap in the coil, a stretched extension spring, rust pitting on the wire, or a door that fails the balance test by falling quickly. Any of these means it’s time for a professional inspection. Don’t keep operating the door while a spring is showing these signs. Call us and we’ll look at it.
No, routine maintenance like lubrication and hardware tightening is expected and won’t void the warranty. What can void it is unauthorized adjustment to travel limits or force settings without following the manufacturer’s procedure. If you’re not sure, have a certified technician handle the opener and log the service.
Often yes. Same-day and emergency service are available for stuck or broken doors, and we’ll confirm a window when you call. Broken springs, snapped cables, and doors that won’t respond to the opener are the usual emergency situations. Call (877) 606-8952 and we’ll get you scheduled. Estimates are free.
The Bottom Line
A garage door maintenance checklist for Kent homeowners works best when it’s built around real time frames: monthly balance test and lubrication, quarterly seal and safety checks, annual spring and cable inspection. The most expensive failures in this trade start as small skipped steps, usually a track that never got cleaned or a hinge that never got lubricated. What you can safely handle is short lubrication, tightening, testing, and inspection. What needs a trained technician is anything with a spring, a cable, or high-tension hardware. If you want a full professional check, or you’ve got a door that’s already given you a warning sign, call us. Kent Garage Door Repair Pros works on LiftMaster, Chamberlain, Genie, Clopay, Amarr, Wayne Dalton, Craftsman, and Raynor systems, and we offer free estimates.
Call (877) 606-8952 for a free estimate on any repair, tune-up, or new installation. We’ll give you a written price up front and we won’t start until you agree to it.
Written by the team at Kent Garage Door Repair Pros.